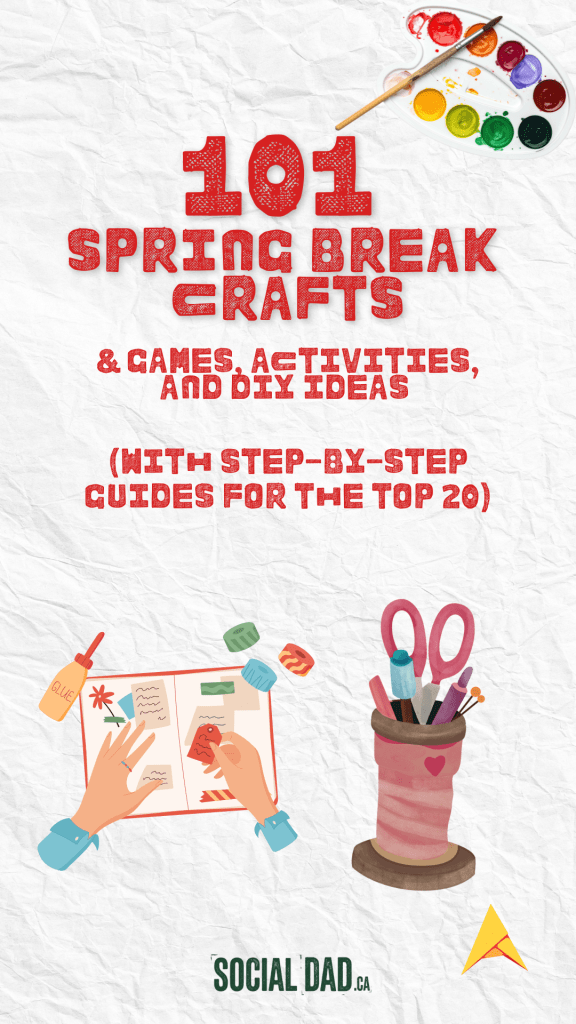
Spring break stretches ahead of you. The kids are home, the weather is warming up, and you need a plan. Not a vague “we’ll figure it out” plan either. A real one.
This list has 101 ideas ranging from five-minute crafts to full afternoon projects. Some need craft supplies. Some just need whatever’s already in your kitchen. All of them will keep little hands busy and big imaginations running.
The top 20 come with full step-by-step instructions so you can jump straight in without hunting down tutorials.
The Full List of 101 Spring Break Ideas
Crafts (1–35)
- Tissue paper flower bouquets
- Egg carton caterpillars
- Paper plate butterflies
- Painted rock garden markers
- Yarn-wrapped letters
- Watercolour resist art with white crayon
- Paper bag puppets
- Toilet roll birdhouses
- Pressed flower bookmarks
- Pinecone bird feeders with peanut butter and birdseed
- Suncatchers with contact paper and tissue paper
- DIY seed bombs
- Handprint garden stepping stones (with plaster of Paris)
- Tie-dye t-shirts
- Spring wreath with paper flowers
- Rain stick shakers from cardboard tubes
- Nature collage frames
- Paper mosaic art
- Origami tulips
- Clothespin dragonflies
- Mason jar terrariums
- Paper windmills
- Coffee filter butterflies with markers and water
- Washi tape art on canvas
- Decoupage flower pots
- Bubble wrap printing (press inked bubble wrap onto paper)
- Salt dough spring ornaments
- Rainbow scratch art
- Leaf skeleton prints
- DIY kite from a garbage bag and sticks
- Painted wooden spoon garden stakes
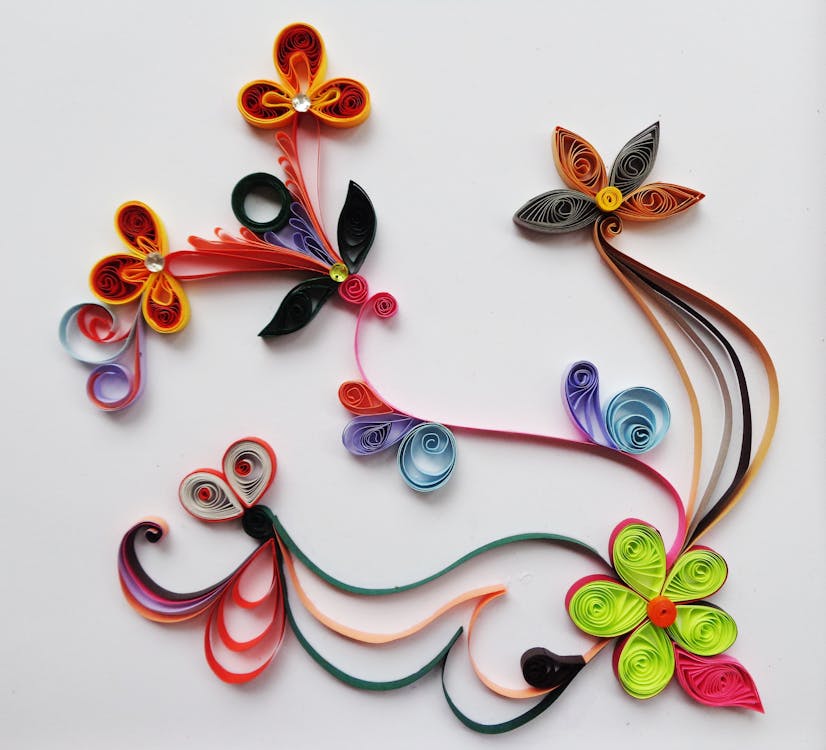
- Paper quilling flower art
- Tie-dye Easter eggs with silk ties
- Melted crayon art on canvas
- DIY kaleidoscope from a paper towel roll
Games and Outdoor Activities (36–65)
- Backyard scavenger hunt
- Water balloon toss
- Sidewalk chalk obstacle course
- DIY ring toss with bottles and embroidery hoops
- Nature bingo
- Mud kitchen play
- Bug hotel building with sticks and pinecones
- Garden planting (seeds in cups indoors or a backyard plot)
- Puddle jumping competition
- Bird watching with a homemade checklist
- Backyard treasure hunt with drawn maps
- Hula hoop games
- Sponge bomb fights (soak cut sponges and toss)
- Three-legged race
- Egg and spoon race
- DIY mini golf with household items
- Chalk town (draw a whole city on the driveway)
- Frisbee target toss
- Obstacle course using lawn chairs, hula hoops, and jump ropes
- Freeze dance outside
- Simon Says with spring themes
- Backyard camping with a tent
- Cloud watching and journalling shapes
- Outdoor fort building with tarps and rope
- Bubble station with homemade bubble solution
- Bike decorating parade
- Nature journalling walk
- Rainbow hopscotch
- Kite flying
- Catch and release bug study
Indoor Games and Activities (66–80)
- DIY board game from cardboard
- Blanket fort movie day
- Spring-themed memory card game (print and cut)
- Puppet show with sock puppets
- Indoor bowling with water bottles and a soft ball
- Jigsaw puzzle race
- Baking challenge (kids choose the recipe)
- Science experiment: volcano with baking soda and vinegar
- Science experiment: walking water with food dye
- Science experiment: growing bean sprouts in a ziplock bag
- Reading challenge with a points chart
- Family trivia night with spring questions
- Origami session with YouTube tutorials
- Lego building challenge with prompts (build a bird, a spring garden, etc.)
- Finger knitting bracelets
Sensory and Messy Play (81–90)
- Cloud dough (flour and baby oil)
- Kinetic sand at home (fine sand and cornstarch)
- Oobleck (cornstarch and water)
- Slime with glue and borax (or contact lens solution)
- Mud pie kitchen
- Shaving cream marbling on paper
- Finger painting with homemade paint (flour, salt, water, food dye)
- Rainbow rice sensory bin
- Spring sensory bin with plastic bugs, flowers, and grass
- Foam soap dough
Food and Kitchen Projects (91–101)
- Decorate spring-themed cookies
- Make homemade lemonade from scratch
- Build your own pizza (mini personal pizzas)
- Fruit kabob skewers with dipping sauce
- Homemade popsicles with juice and fruit
- Pancake art (pour batter into spring shapes)
- Chocolate-dipped strawberries
- Bird nest Rice Krispie treats
- Carrot cake muffins
- Cucumber sandwiches cut into flower shapes
- Spring trail mix: popcorn, pastel M&Ms, pretzels, and mini marshmallows
Step-by-Step Guides for the Top 20 Spring Break Activities
1. Tissue Paper Flower Bouquets
What you need: Tissue paper in multiple colours, pipe cleaners, scissors
Steps:
- Stack 6–8 sheets of tissue paper on top of each other.
- Fold the stack accordion-style, making folds about 2.5 cm wide.
- Pinch the folded stack in the centre.
- Wrap a pipe cleaner tightly around the pinched middle and twist to secure. Leave the tail as the stem.
- Fan out both sides of the accordion folds to form a full circle.
- Gently pull each layer of tissue paper upward toward the centre, separating the layers one at a time.
- Fluff and shape the petals until the flower looks full.
- Repeat with different colours and bundle together with a rubber band or ribbon.
Tips: Crepe paper gives a more realistic look. For toddlers, pre-fold the stacks and let them do the pulling and fluffing.
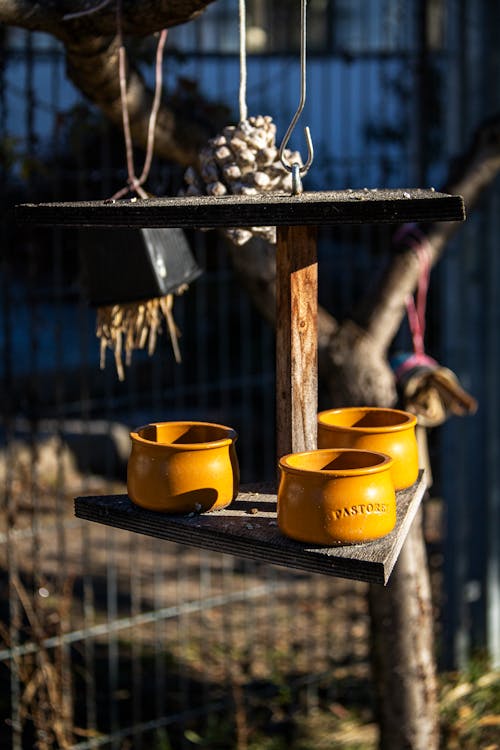
2. Pinecone Bird Feeders
What you need: Pinecones, peanut butter (or sunflower seed butter for nut-free), birdseed, twine, a plate
Steps:
- Tie a length of twine around the top of each pinecone, leaving enough to hang it from a branch.
- Pour birdseed onto a plate.
- Spread peanut butter generously over the entire pinecone using a butter knife or spoon. Get it into the crevices.
- Roll the peanut butter-coated pinecone in the birdseed, pressing lightly so the seeds stick.
- Let it set for 10 minutes in the fridge.
- Hang outside on a tree branch at a height kids can observe easily.
Tips: Check for nut allergies if you’re making these for a school or group. Sunflower seed butter works just as well. Set up a bird-watching chart nearby so kids can track which birds visit.

3. DIY Seed Bombs
What you need: Air-dry clay or natural clay, wildflower seeds, potting soil, water, a bowl
Steps:
- Mix 1 part clay, 3 parts potting soil, and 1 part seeds in a bowl.
- Add water a little at a time until the mixture holds together when pressed.
- Roll into golf ball-sized spheres. Press firmly so they hold their shape.
- Place on a tray and let dry for 24–48 hours.
- Once dry, take outside and toss or press them into bare garden patches, planters, or a community green space.
- Water lightly and watch over the coming weeks.
Tips: Wildflower mixes attract pollinators and grow with minimal care. These also make great gifts for neighbours or grandparents.

4. Coffee Filter Butterflies
What you need: White coffee filters (basket-style), washable markers, spray bottle with water, clothespins, pipe cleaners, googly eyes, glue
Steps:
- Flatten a coffee filter on a protected surface.
- Draw patterns, dots, and swirls all over it with washable markers. Bright colours work best.
- Lightly mist the decorated filter with water from the spray bottle. Watch the colours bleed and blend together.
- Set aside to dry completely (about 20–30 minutes, or speed it up with a hair dryer on low).
- Once dry, pinch the filter in the centre and scrunch it together to form butterfly wings.
- Clip a clothespin over the pinched centre.
- Twist a pipe cleaner around the top of the clothespin and curl the ends upward to form antennae.
- Glue googly eyes onto the clothespin head.
Tips: Younger kids can stick to just two or three marker colours and still get stunning results. String a line of them across a window for a spring mobile.

5. Mason Jar Terrariums
What you need: Wide-mouth mason jar (quart size works well), small pebbles or gravel, activated charcoal (optional but helps drainage), potting soil, small plants (moss, ferns, or succulents), decorative stones, small figurines if desired
Steps:
- Clean and dry the jar completely.
- Add a 2–3 cm layer of small pebbles at the bottom for drainage.
- Sprinkle a thin layer of activated charcoal over the pebbles (this keeps mould from forming).
- Add 5–7 cm of potting soil on top.
- Use a spoon or your fingers to dig small holes and plant your plants, pressing soil firmly around the roots.
- Decorate with extra pebbles, small figurines, or coloured glass pieces.
- Water lightly so the soil is moist but not soaked.
- Place in indirect sunlight. For a closed terrarium, add a lid and mist occasionally.
Tips: Succulents are the most forgiving for kids. Label what each plant is with a small craft stick marker. These make beautiful Mother’s Day gifts if you start them during spring break.
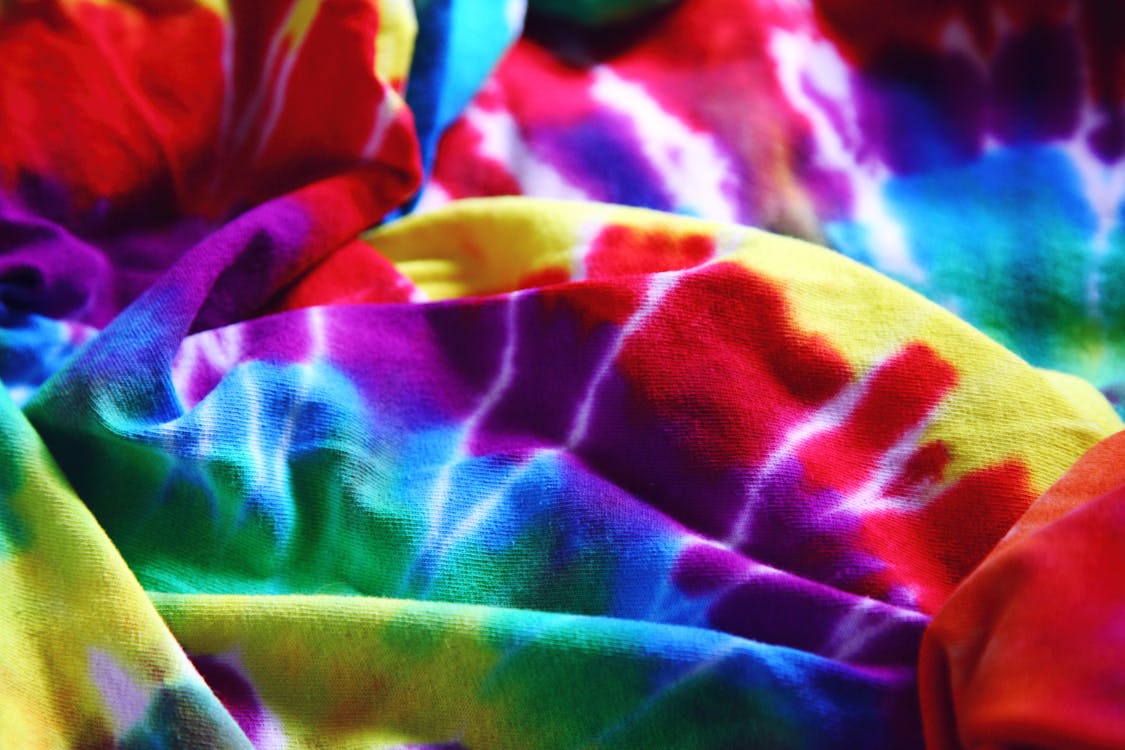
6. Tie-Dye T-Shirts
What you need: White cotton t-shirts (pre-washed), rubber bands, tie-dye kit or Rit dye, plastic squeeze bottles, gloves, plastic bags, old towels or drop cloth
Steps:
- Wet the shirt thoroughly and wring out excess water.
- For a spiral: pinch the centre of the shirt, twist in one direction until the whole shirt forms a flat disc. Secure with 3–4 rubber bands, dividing it into sections like a pie.
- For a bullseye: pinch any part of the shirt and pull upward. Secure rubber bands every few centimetres down the gathered fabric.
- Mix dye according to package instructions. Wear gloves from this point on.
- Apply different dye colours to different sections, saturating the fabric thoroughly. Flip and repeat on the other side.
- Wrap the dyed shirt in a plastic bag and let it sit for 6–8 hours (overnight is better).
- Remove rubber bands, rinse under cold water until water runs mostly clear, then warm water, then hot.
- Wash separately in the washing machine on a warm cycle. Dry as normal.
Tips: Set up the dyeing station outside on grass. Wear clothes you don’t mind staining. Soda ash pre-soak (included in most kits) makes colours significantly brighter and longer-lasting.

7. Shaving Cream Marbling on Paper
What you need: Shaving cream (not gel), food colouring or liquid watercolour, cardstock or heavy paper, a spatula or straight-edged card, toothpicks or skewers, a tray
Steps:
- Spread a layer of shaving cream about 1.5 cm thick across the tray. Smooth it flat.
- Drop several colours of food dye across the shaving cream surface.
- Use a toothpick to swirl the colours together. Don’t over-mix or the colours will muddy.
- Lay a sheet of cardstock face-down onto the shaving cream surface. Press gently to ensure full contact.
- Lift the paper straight up.
- Use the spatula to scrape off the excess shaving cream in one smooth pass.
- Set the paper aside to dry. The marbled pattern will remain.
- Repeat for as many sheets as you like, re-swirling the cream between each one.
Tips: This works on fabric too. Use the marbled paper for wrapping gifts, making cards, or as backgrounds for artwork.
8. Salt Dough Spring Ornaments
What you need: 2 cups flour, 1 cup salt, ¾ cup water, cookie cutters (spring shapes), straw, paint, sealant spray or Mod Podge, ribbon
Steps:
- Mix flour and salt together in a bowl.
- Add water gradually, mixing until a smooth dough forms. If it’s sticky, add a little more flour.
- Knead for 2–3 minutes until pliable.
- Roll out to about 5 mm thickness on a floured surface.
- Press cookie cutters through the dough to cut shapes: flowers, butterflies, birds, Easter eggs.
- Use a straw to poke a hole near the top of each shape for hanging.
- Place on a parchment-lined baking tray.
- Bake at 120°C (250°F) for 2–3 hours until completely hard and dry. Check every 30 minutes.
- Let cool completely, then paint with acrylic paints.
- Once paint is dry, seal with a coat of Mod Podge or sealant spray.
- Thread ribbon through the hole.
Tips: These keep for years if properly sealed. Write the year and child’s name on the back while the dough is still soft.

9. Homemade Bubble Solution and Station
What you need: 6 cups water, 1 cup dish soap (Dawn or similar works best), ¼ cup corn syrup or glycerin, various bubble wands (pipe cleaners, slotted spoons, cookie cutters), shallow trays
Steps:
- Gently mix water, dish soap, and corn syrup in a large container. Stir slowly to avoid creating foam.
- Let the mixture rest for at least an hour before using (overnight is ideal).
- Pour some solution into shallow trays.
- Make wands from pipe cleaners by bending them into loops, hearts, or stars. Twist the handle end to close.
- Dip wands gently and blow slowly and steadily for best results.
- For giant bubbles: tie a length of cotton rope or yarn between two wooden dowels. Dip the rope into a tray of solution and slowly lift while walking backward.
Tips: Humid days produce better bubbles than dry, windy ones. Rinse off bubble solution from skin and grass after playing since dish soap can irritate sensitive skin.

10. Rainbow Rice Sensory Bin
What you need: 4 cups uncooked white rice, white vinegar, food colouring in multiple colours, ziplock bags, baking tray, large container or bin for play
Steps:
- Divide rice evenly into separate ziplock bags, one per colour.
- Add 1 tablespoon of white vinegar to each bag.
- Add 15–20 drops of food colouring to each bag.
- Seal the bags and massage the rice until fully coated.
- Spread each colour in a single layer on a baking tray lined with parchment.
- Let dry for 1–2 hours, or dry in a 120°C (250°F) oven for 20 minutes. Stir occasionally.
- Once completely dry, layer the colours in your sensory bin.
- Add scoops, cups, funnels, plastic flowers, bugs, or eggs.
Tips: Add a splash of scent (a drop of vanilla extract per bag) for an extra sensory dimension. Store in an airtight container between uses. Works for months.

11. Watercolour Resist Art
What you need: White cardstock or watercolour paper, white crayons or oil pastels, watercolour paints, brushes, water
Steps:
- Use the white crayon to draw designs on white paper. Flowers, butterflies, suns, and rainbows all look great. The drawing will be nearly invisible at this stage.
- Load a brush with watery watercolour paint (more water than paint).
- Paint over the entire paper in broad strokes. The wax crayon will resist the paint, revealing the white drawings underneath.
- Layer different colours across the paper for a gradient effect.
- Let dry flat.
Tips: Oil pastels produce even stronger resist than crayons. Older kids can write secret messages in white crayon for younger siblings to “reveal” with paint.
12. Paper Plate Butterfly
What you need: Paper plates (2 per butterfly), paint, scissors, pipe cleaners, googly eyes, glue, stapler
Steps:
- Paint both paper plates on the front side in spring colours. Let dry.
- Cut one plate in half. These will be the lower wings.
- Staple or glue the two half-plates to the sides of the whole plate (which forms the upper wings and body).
- Fan the plates open slightly so the wings are dimensional.
- Fold a pipe cleaner in half and curl the ends into spirals for antennae.
- Glue or staple the pipe cleaner to the top of the body.
- Glue on googly eyes.
- Add any extra details with markers, glitter glue, or stickers.
Tips: For a simpler version, skip the cutting and just fold one plate in half as the body, gluing the second plate behind it as wings.

13. DIY Kite from a Garbage Bag
What you need: One large garbage bag, two straight sticks or wooden dowels (one longer than the other), strong tape or duct tape, string or twine, ribbon for a tail, scissors
Steps:
- Cross the shorter stick over the longer one, about one-third from the top. Tie tightly with string to form a cross shape. Tape over the knot for extra security.
- Cut notches at the end of each stick with a knife or have an adult score them.
- Run string around the outside of the frame, looping through each notch to form the kite’s outline. Pull taut.
- Lay the garbage bag flat. Place the frame on top and trace around it, leaving a 5 cm border.
- Cut the plastic and fold the border over the string frame, taping securely all the way around.
- Tie a length of ribbon (1–1.5 metres) to the bottom of the kite for the tail.
- Tie your flying string to the centre of the cross frame where the sticks meet.
- Head outside on a breezy day and run!
Tips: The string attachment point matters. If the kite nose-dives, move the string attachment slightly higher. If it pulls backward, move it lower.

14. Oobleck (Non-Newtonian Fluid)
What you need: 2 cups cornstarch, 1 cup water, food colouring, a large tray or bin
Steps:
- Pour cornstarch into the tray.
- Mix food colouring into the water.
- Slowly pour the coloured water into the cornstarch, mixing with your hands. Don’t add all the water at once.
- Keep mixing until the substance behaves strangely: it should feel solid when you punch it but liquid when you hold it still.
- Adjust with more cornstarch if too liquid, more water if too solid.
- Let kids explore: squeeze it, poke it, drip it, roll it into a ball and watch it melt.
The science: Oobleck is a non-Newtonian fluid. Under pressure it acts like a solid because the cornstarch particles pack together. When pressure releases, the particles separate and it flows like liquid. This is a perfect jumping-off point for a conversation about states of matter.
Tips: Do this outside or on a tray. It’s washable but messy. Don’t pour it down the drain; it can clog pipes. Let it dry out and throw it in the trash.

15. Pressed Flower Bookmarks
What you need: Fresh flowers and leaves (small, flat varieties like pansies, daisies, ferns), heavy books, paper towels, cardstock, Mod Podge, a brush, scissors, laminator or clear contact paper, hole punch, ribbon
Steps:
- Pick flowers and arrange them face-down on a paper towel.
- Cover with another paper towel and place inside a heavy book.
- Stack more books on top.
- Wait 1–2 weeks until flowers are completely flat and dry.
- Cut cardstock into bookmark shapes (about 5 x 15 cm).
- Arrange pressed flowers and leaves on the cardstock.
- Brush a thin layer of Mod Podge over the arrangement and let dry.
- Add another coat of Mod Podge over the entire bookmark and let dry completely.
- Optionally laminate for durability.
- Punch a hole at the top and thread a ribbon through.
Tips: This project works best as a two-stage activity: press the flowers the week before spring break and assemble the bookmarks during break.
16. Backyard Scavenger Hunt
What you need: Printed or hand-drawn scavenger hunt list, small bags or baskets for collecting, optional: magnifying glasses
How to set it up:
Create a list of 15–20 spring-themed items to find. Mix easy finds with harder ones to keep it interesting across ages.
Sample list:
- Something yellow
- A smooth rock
- A feather
- Five different leaves
- Something that makes a sound
- A bug (observe and release)
- Something prickly
- A flower
- Bark from a tree
- Something that smells nice
- A spider web (don’t touch, just spot)
- Three different colours of grass or plant
- Something that feels soft
- A seed
- Something perfectly round
Variations:
- Photo hunt: Kids photograph each item on a tablet or old phone instead of collecting.
- Team version: Split into teams and race to find everything first.
- Nature detective: Each item found must be sketched in a journal with one observation written about it.
Tips: Adapt the list to your specific yard or local park. Urban scavenger hunts can swap in things like a red door, something made of metal, or a cracked piece of pavement with a plant growing through it.
17. Bird Nest Rice Krispie Treats
What you need: 3 tablespoons butter, 4 cups mini marshmallows, 6 cups Rice Krispies cereal, green food colouring, mini chocolate eggs (like Cadbury Mini Eggs or Robin Eggs candy), cooking spray, large pot, wooden spoon
Steps:
- Melt butter in a large pot over low heat.
- Add marshmallows and stir continuously until fully melted and smooth.
- Add 5–6 drops of green food colouring and stir to combine.
- Remove from heat. Add Rice Krispies and stir quickly until fully coated.
- Spray your hands with cooking spray (the mixture is hot, so let it cool slightly first).
- Scoop about ½ cup of mixture per nest. Form into a ball and press a hollow into the centre with your thumb to create a nest shape.
- Place on parchment paper and let cool for 10 minutes.
- Fill each nest with 3–4 mini chocolate eggs.
Tips: Work fast once the cereal is mixed in because the mixture sets quickly. If it becomes too stiff to shape, a quick 10-second microwave warm-up helps. These are a reliable crowd-pleaser for spring break parties.

18. Sock Puppet Show
What you need: Old socks, googly eyes, felt or fabric scraps, yarn, buttons, glue gun (adult use), markers, scissors, a cardboard box for a stage
Steps:
- Slip a sock over your hand and figure out where the eyes should go based on how you hold your hand.
- Glue googly eyes in place (hot glue is faster and holds better than white glue).
- Cut felt into shapes for ears, beaks, tongues, hair, or clothing details. Glue onto the sock.
- Add yarn for hair or a mane. Cut buttons for extra detail.
- Use markers to add freckles, eyebrows, or patterns.
- Repeat for at least two characters.
- Cut a large window in the front of a cardboard box for the stage opening. Decorate it like a theatre.
- Kids crouch behind the box and put on a show.
Tips: Ask kids to write a short script before performing. Even three sentences per character is enough to structure a story. Record it on your phone for a family keepsake.

19. Homemade Popsicles
What you need: Popsicle moulds (or small paper cups and popsicle sticks), fruit juice, fresh fruit, yogurt (optional)
Three flavour ideas:
Strawberry Lemonade:
- Blend 1 cup fresh strawberries with ½ cup lemonade.
- Pour into moulds, filling ¾ full.
- Freeze 1 hour, insert sticks, freeze another 3–4 hours.
Tropical Layers:
- Layer mango juice, then coconut milk (slightly sweetened), then pineapple juice.
- Pour each layer and freeze for 30–45 minutes before adding the next so layers stay distinct.
Yogurt Berry Swirl:
- Spoon vanilla yogurt into moulds.
- Drop in a few fresh blueberries and raspberries.
- Swirl with a toothpick.
- Insert sticks and freeze 4 hours.
Tips: Run the mould under warm water for 10 seconds to release the popsicles cleanly. Let kids pick their own fruit combinations and write their name on the mould with a piece of masking tape.
20. Melted Crayon Art on Canvas
What you need: Small canvases (20×25 cm works well), crayons (one full box), glue gun, tape, hair dryer, drop cloth or newspaper, optional: stickers or craft foam shapes
Steps:
- Sort crayons by colour into a rainbow order (red through violet).
- Peel the wrappers from all crayons.
- Use the hot glue gun (adult handles this) to glue crayons in a row across the top of the canvas, points facing down.
- Press a sticker or foam shape onto the canvas in the lower section. This will create a silhouette when the wax covers everything except the raised shape.
- Lay the canvas flat or lean it against a wall at a slight angle.
- Cover the working area with newspaper.
- Use the hair dryer on high heat, pointing down at the crayons. The wax will begin to melt and drip down the canvas.
- Move the dryer left and right to control where the wax flows.
- Once fully covered, let cool completely (about 20 minutes).
- Peel off the sticker/foam shape to reveal the clean silhouette underneath.
Tips: This works best on a warm day outside because the smell of melted wax can linger. Kids can choose their own colour themes: pastels for spring, neons for a bold look, or analogous colour groups for something more sophisticated.
Quick Tips for a Successful Spring Break
Stock a basic craft kit before break starts. The essentials cover most of this list: construction paper, cardstock, paint, brushes, glue sticks, a hot glue gun (for adult use), pipe cleaners, googly eyes, scissors, markers, and tape. Add a bag of plaster of Paris and some air-dry clay, and you’re set for almost anything.
Rotate activities by day. Outdoor days, messy play days, baking days, quiet craft days. A loose structure prevents the “I’m bored” spiral.
Lean into the season. Spring break is one of the rare weeks when kids are motivated by the world outside: bugs are back, flowers are budding, birds are returning. Channel that curiosity, and the activities will feel natural rather than manufactured.
Looking for more family activity ideas? SocialDad.ca covers crafts, outdoor adventures, and real-life parenting for Canadian families year-round.

Leave a comment